ARTimus Prime is your destination to check out all the projects going on at the Fountain Lake Cobra Digital Prep Academy. Bookmark this page to check back here all year to see what we are doing in the Art Room and to keep up with all of your assignments.
This project is based on drawing from observation or drawing from life. You will use your hand as a reference for all of the hand drawings that you create.
Comic book covers have served as dynamic windows into storytelling since their inception in the 1930s. These eye-catching illustrations have transformed from simple character portraits to complex artistic masterpieces that capture readers' imaginations. The Golden Age of Comics (1938-1956) introduced iconic superheroes like Superman and Batman with bold, action-packed covers featuring bright primary colors. As printing technology advanced through the Silver Age (1956-1970) and beyond, covers became more sophisticated, incorporating detailed artwork, dramatic perspectives, and innovative design elements. Today, comic book covers continue to evolve, combining traditional illustration techniques with digital artistry to create compelling visual narratives that draw readers into their worlds.
For our next project, students will create an original comic book cover featuring a unique character, incorporating elements like a title, subtitle, publisher logo, and a well-structured visual design.
Key Vocabulary:
Foreground: The part of the image that appears closest to the viewer.
Middle ground: The area between the foreground and background in a visual composition.
Background: The part of the image that appears farthest away from the viewer.
Overlapping: When one object covers part of another, creating a sense of depth.
Publisher: A company or organization that produces and distributes books or comics.
Intro:
Today we will take a look at a video from the Art Ed Guru. He is the creator of this project and you can find many student examples of this project on his website listed below.
As you watch the video- think about these questions:
What makes a comic book cover eye-catching?
Can you think of any comic book characters that inspire you?
What elements do you notice on your favorite comic book covers?
After watching the video, begin to brainstorm your character and comic book details.
How will you design the character for your comic book cover?
What story does your title and subtitle suggest?
How will you arrange the foreground, middle ground, and background to make your cover visually appealing?
Who is your publisher?
Remember your cover must include all of these items:
Publisher Logo, Title, Subtitle
and your artwork should include a foreground, middle ground, background, and overlapping.
After brainstorming your idea and sketching an idea you will be given a piece of paper that is 10.5x6.75. This is the basic size of a comic book cover.
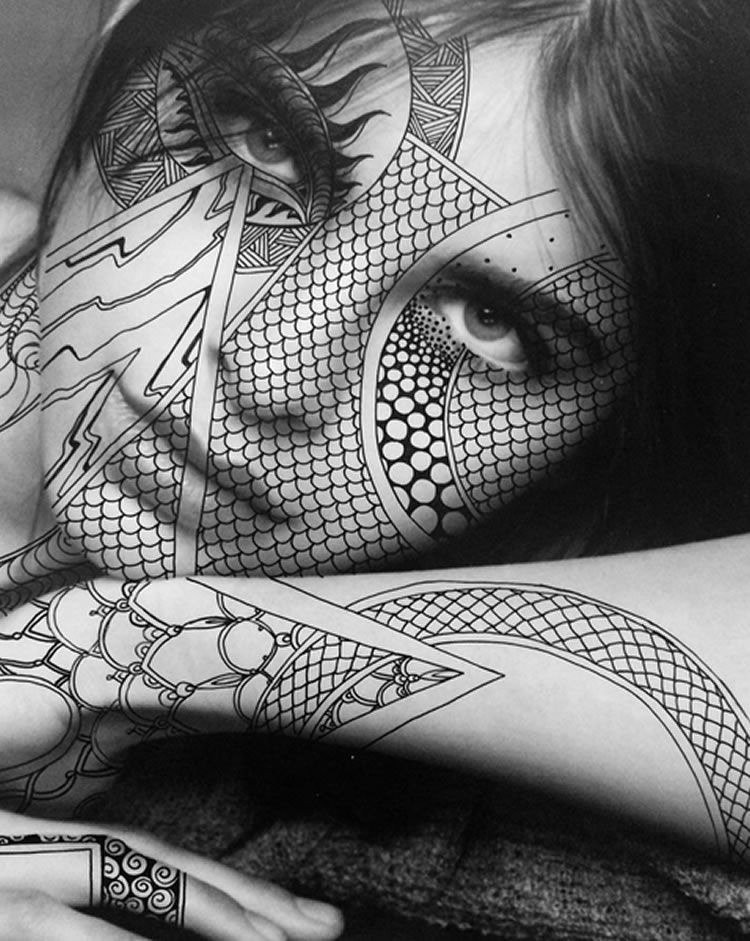
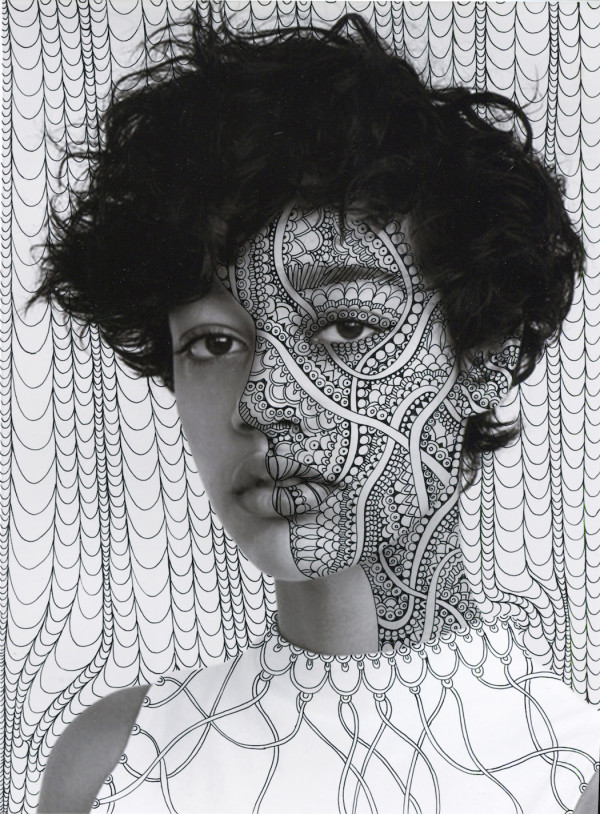
Alana Dee Haynes is a contemporary mixed-media artist who uses photographs as a base for her zentangle styled drawings. She draws meditative patterns across the face and body of the models in the photos and in the backgrounds of the artworks.
DIRECTIONS:
PROJECT 1
You will be randomly assigned a photo of a celebrity/model for this project.
Using a sharpie, add zentangle patterns to your model.
Use at least 5 different patterns on your piece. Take your time and make complex patterns following instructions on TanglePatterns.
You can use a pencil first if you like.
Please return sharpies back to the appropriate bucket when finished.
Use tanglepatterns.com to find interesting patterns to create for your
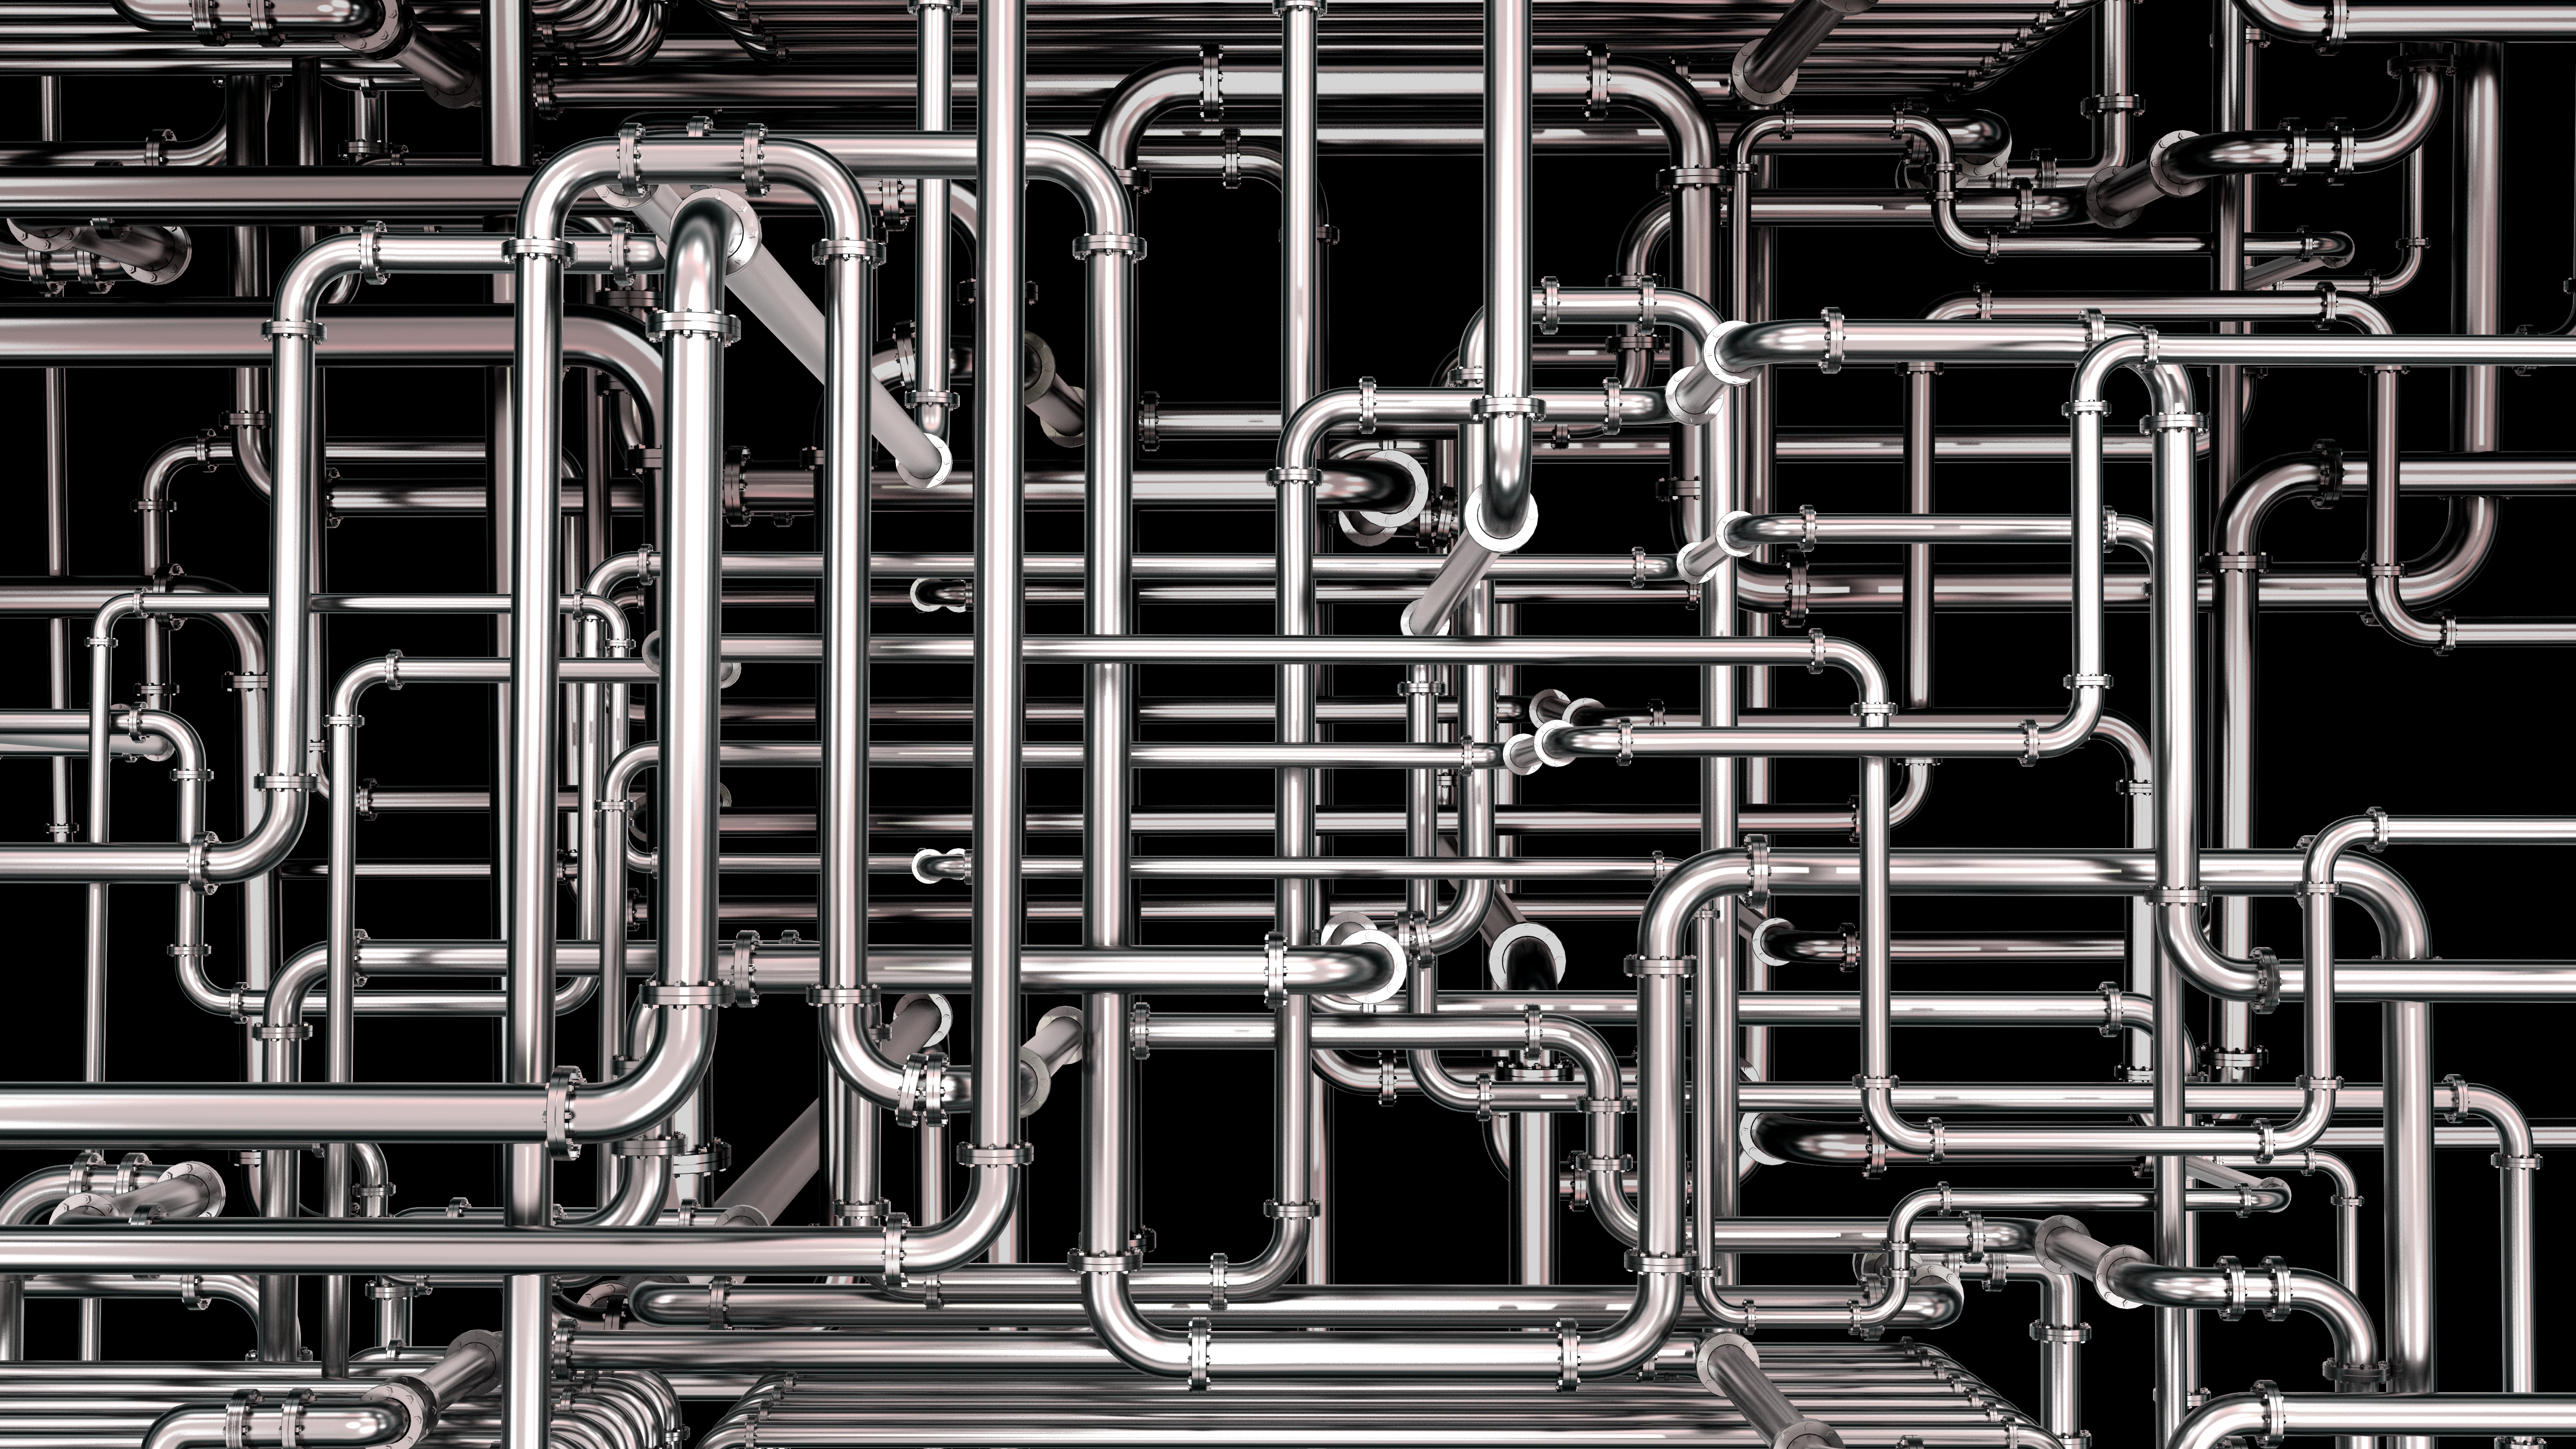
For this project, you will be creating a complex arrangement of pipes to show depth and value in an artwork. You will be using shading, value, and contour lines to help create the feeling of depth in your artwork.
DIRECTIONS:
Take a look at the worksheet above before you begin.
In your sketchbook, practice creating 4 pipe shapes with shading and contour lines added. You may use the same 4 pieces that are at the bottom of the worksheet.
After you have practiced 4 shapes and are comfortable making the pipe shapes, you may get a 12x18 piece of paper to begin your final artwork.
Your final artwork should be a complex network of pipes. There should be at least 3 layers of depth in your pipework and it should fill the page. You may add extra details, like knobs, regulator valves, leaks, and any other pipe related details you can think of. Your pipes need to be in color and have full value work to show depth.
Our next project is a fun Halloween project. You will use the worksheets as a guide as you roll a die to randomly select the parts of a monster to draw. After you draw your monster you will need to color it in full color. You can also add extra details and textures to make your monster unique. Monsters need to be drawn on the provided paper and fill the page. (No tiny monsters!) You will create two monsters for this project.
DIRECTIONS: There are 3 different options below.
1. Choose one of the worksheets.
2. Using the virtual dice, roll for each part of your monster and draw that shape.
3. You may add details and extra additions to your monster at this point.
4. Add a background for your monster.
5. Color your artwork.
6. Repeat the steps above for your second monster!
This project is a contest to design a t-shirt for Earth Day. This contest is sponsored by http://www.earthdayshirts.com/. Check out the link for more information about the company.
Your Earth Day design is completely up to you. You may choose to represent Earth Day any way you would like. Below are some videos that explain the history of Earth Day and provide some inspiration for you as you think of an awesome t-shirt design.


.png)