ARTimus Prime is your destination to check out all the projects going on at the Fountain Lake Cobra Digital Prep Academy. Bookmark this page to check back here all year to see what we are doing in the Art Room and to keep up with all of your assignments.
Our next project will take a look at the art of mosaics and stained glass. Mosaics have a long history, starting in Mesopotamia in the 3rd millennium BC. They were typically made from clay tiles, pebbles and sometimes glass. They often depicted religious subjects or were purely decorative. You will be able to choose any photo you would like to create for your mosaic and we will discuss how to use the Google Drawing tools in class. Take a look at the links below for inspiration and some of my examples in the photos.
For this project we will take a look at artist Victoria Villasana. She uses yarn and fabrics to embellish portraits of vintage photographs."Embellish" means to make something more attractive by adding decorative details or features. We will use Google Drawings to create an embellished portrait in her style. Click on the link to take a look at some of her art examples, then take a look at my example of Adam Sandler. We will discuss how to use the Google drawing tools in class.
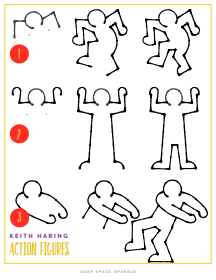
For our next lesson, we will look at the art of Keith Haring and the figures that he created.
First, you will practice creating Keith Haring figures by drawing from the Roll-a-Haring worksheet. Then, you will create a collage using construction paper and markers for your figures.
Haring's figures had particular meanings, kind of like hieroglyphics do. Check out this link to lake a look at some of their meanings.
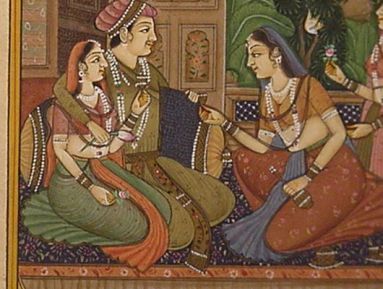
Our first project will take us halfway around the world to an ancient tradition practiced for over 5000 years. You will create a henna design on a hand using the zentangle method and then color your design using crayons or colored pencils. Zentangles and henna designs will create awesome patterns and textures in your artwork.
The art of henna (called mehndi in Hindi & Urdu) has been practiced for over 5000 years in Pakistan, India, Africa and the Middle East. There is some documentation that it is over 9000 years old. Because henna has natural cooling properties, people of the desert, for centuries, have been using henna to cool down their bodies. They make a paste of henna and soak their palms and soles of the feet in it to get an air conditioning affect. They feel its cooling sensation throughout the body for as long as the henna stain remains on their skin. Initially, as the stain faded away, it left patterns on the skin surface which led to ideas to make designs for decorative purposes. In the ancient Egyptian times mummies wore henna designs and it is documented that Cleopatra herself used henna for decorative purposes.
Henna was not only a popular adornment for the rich but the poor, who could not afford jewelry, used it to decorate their bodies as well.
Henna in the West
Today people all over the world have adopted the ancient traditions of adorning their bodies with the beautiful natural artwork created from the henna plant. It became a very popular form of temporary body decoration in the 90's in the US and has become a growing trend ever since. Celebrities like Madonna, Gwen Stefani, Yasmine Bleeth, Liv Tyler, Xena, and many others proudly adorn their bodies with henna and show them off in public, movies, videos, etc. People throughout the west have adopted the eastern tradition in their lives by having their hands and feet painted for weddings, bellies painted while in pregnancy, heads adorned with henna while going through chemotherapy, scars camouflaged to make them unnoticeable, etc.
DIRECTIONS:
STEP 1: TRACE YOUR HAND, PUT YOUR HAND TOWARDS THE TOP OF THE PAGE SO YOU CAN HAVE SOME OF YOUR WRIST TO DRAW ON.
STEP 2: CHOOSE A TRADITIONAL OR ZENTANGLE STYLE HENNA HAND DESIGN.
STEP 3: CREATE YOUR DESIGN IN YOUR HAND. USE THE WEBSITES PROVIDED ABOVE TO HELP WITH YOUR DESIGNS.
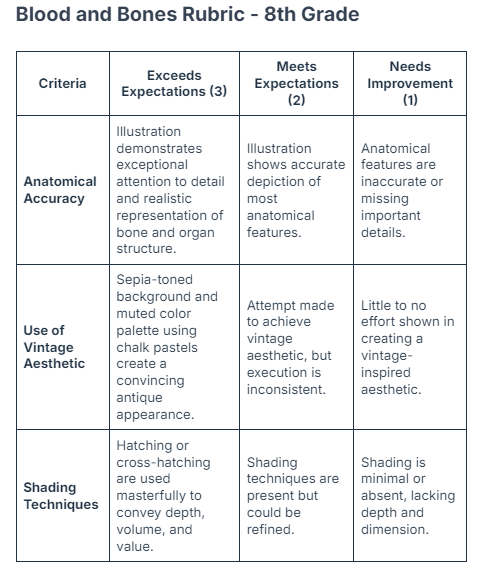
Students will look at reproductions of anatomical illustrations to inspire these gruesome masterpieces. Careful observation are encouraged in order to retain realistic accuracy of the structure of the bones and organs. We will employ a variety of techniques to create a vintage “antique” feel to our drawings, including painting a sepia toned background and using chalk pastels for hints of muted color. Final touches include creating a wire frame around our drawings, and adding optional “blood” splatters.
“Memento mori is a Latin phrase meaning ‘remember you must die’. A basic memento mori painting would be a portrait with a skull but other symbols commonly found are hour glasses or clocks, extinguished or guttering candles, fruit, and flowers.
Closely related to the Memento Mori picture is the Vanitas still life. In addition to the symbols of mortality these may include other symbols such as musical instruments, wine, and books to remind us explicitly of the vanity of worldly pleasures and goods.
The Vanitas and Memento Mori picture became popular in the seventeenth century, in a religious age when almost everyone believed that life on earth was merely a preparation for an afterlife.”
Take a look at the slideshow link below for the intro
There are two different approaches to completing your illuminated letter project.
The top piece is more of a traditional approach to the illumination and the bottom piece is a more modern approach. Both pieces are inspired by items that I like and can relate to. You should do the same.
Using the square piece of paper required, draw your letter first and then add details and embellishments to your design.
Welcome to Artimus Prime! This is where you will find all of your information to make it through middle school art this year. We will make many artworks throughout the year utilizing many different art methods and techniques. I hope that you enjoy my class and the challenge that being creative brings to you. Work hard and turn in your work to Artsonia on time and we will have a GREAT year!
Today we will discuss some art rules and procedures that will need to be followed everyday in class for everyone to be successful in the art room.
Create a Name Tag
Your first project is to create a name tag for your box. Use bubble or block letters to write your name and fill the space with color.
AR Standards 5th: P.4.5.1 P6.5.1 R7.5.2 CN11.5.1
AR Standards 6th: P4.6.1 P6.6.1 R7.6.2 CN11.6.1
Notan is a Japanese term which literally means "light dark harmony". Artists use "notan studies" to explore different arrangements of light and dark elements in a painting, without having the distraction of other elements like color, texture and finer details.
Asymmetrical balance (or Asymmetry) means thatthe two halves of the work of art are different, however, try to create balance. In other words, although the sides may not be exactly the same, there will be elements that interact in a way that makes each side equally important.
Contrast is simply defined as difference. Difference between art elements like color, value, size, texture, and so on can intensify the elements used. As a result, the elements used in a work of art can become more powerful. Although contrast is closely related with variety, it is usually considered a principle of art.
Positive space refers to the subject or areas of interest in an artwork, such as a person's face or figure in a portrait, the objects in a still life painting, or the trees in a landscape painting. Negative space is the background or the area that surrounds the subject of the work
DIRECTIONS:
For this project you will be creating 2 digital notans.
You must use shapes that you create from the scribble, polyline, or curve tool. It must be complex and contain overlapping shapes.
Take a look at the link below to check out a Google slideshow with info and video tutorials to get you started.
Our next project is inspired by Halloween and our art room guest, Napoleon Bonaparte.
You will be using oil pastel to recreate a portion of a skeleton. You will use the oil pastel to create value and depth for your bones. After you finish your drawing, you will paint the piece with watercolor.
Positive and Negative Space
INSTRUCTIONS
DAY 1
Practice drawing positive and negative spaces by using the grid method on the provided worksheet. This is a simplified version of a skeleton. Today you are focused on getting the correct shapes. Check out the rubric for guidance on how to get full credit.
DAY 2-5
You will choose what drawing you would like to complete for your final and begin work on that today, and continue throughout the next few days.
1. Enlarge your drawing onto the 9x9 paper using the grid method.
2. Use your oils pastels to create shading and depth.
3. Paint with watercolor.
All of these steps can be found in the video below.
We will be taking a look at M.C. Escher and tessellations in art as you also look at tessellations in the math class.
A tessellation is "a repetitive interlocking pattern of shapes. The pattern fills, or clearly could fill, a surface entirely without gaps or overlaps". A tessellation looks a bit like a simple jigsaw puzzle, but all the pieces are just one or two or three shapes.
M.C. Escher was a 20th century Dutch illustrator whose innovative works explored echoing patterns, perception, space and transformation. Born on June 17, 1898, in Leeuwarden, Netherlands, illustrator M.C. Escher developed a print and engraving style that distinctively played with orientation and space. Influenced by Moorish designs in Spain, works like "Day and Night" featured interlocking forms and transformation on a surreal canvas. Later embraced by both artistic and math/science communities, Escher died on March 27, 1972.
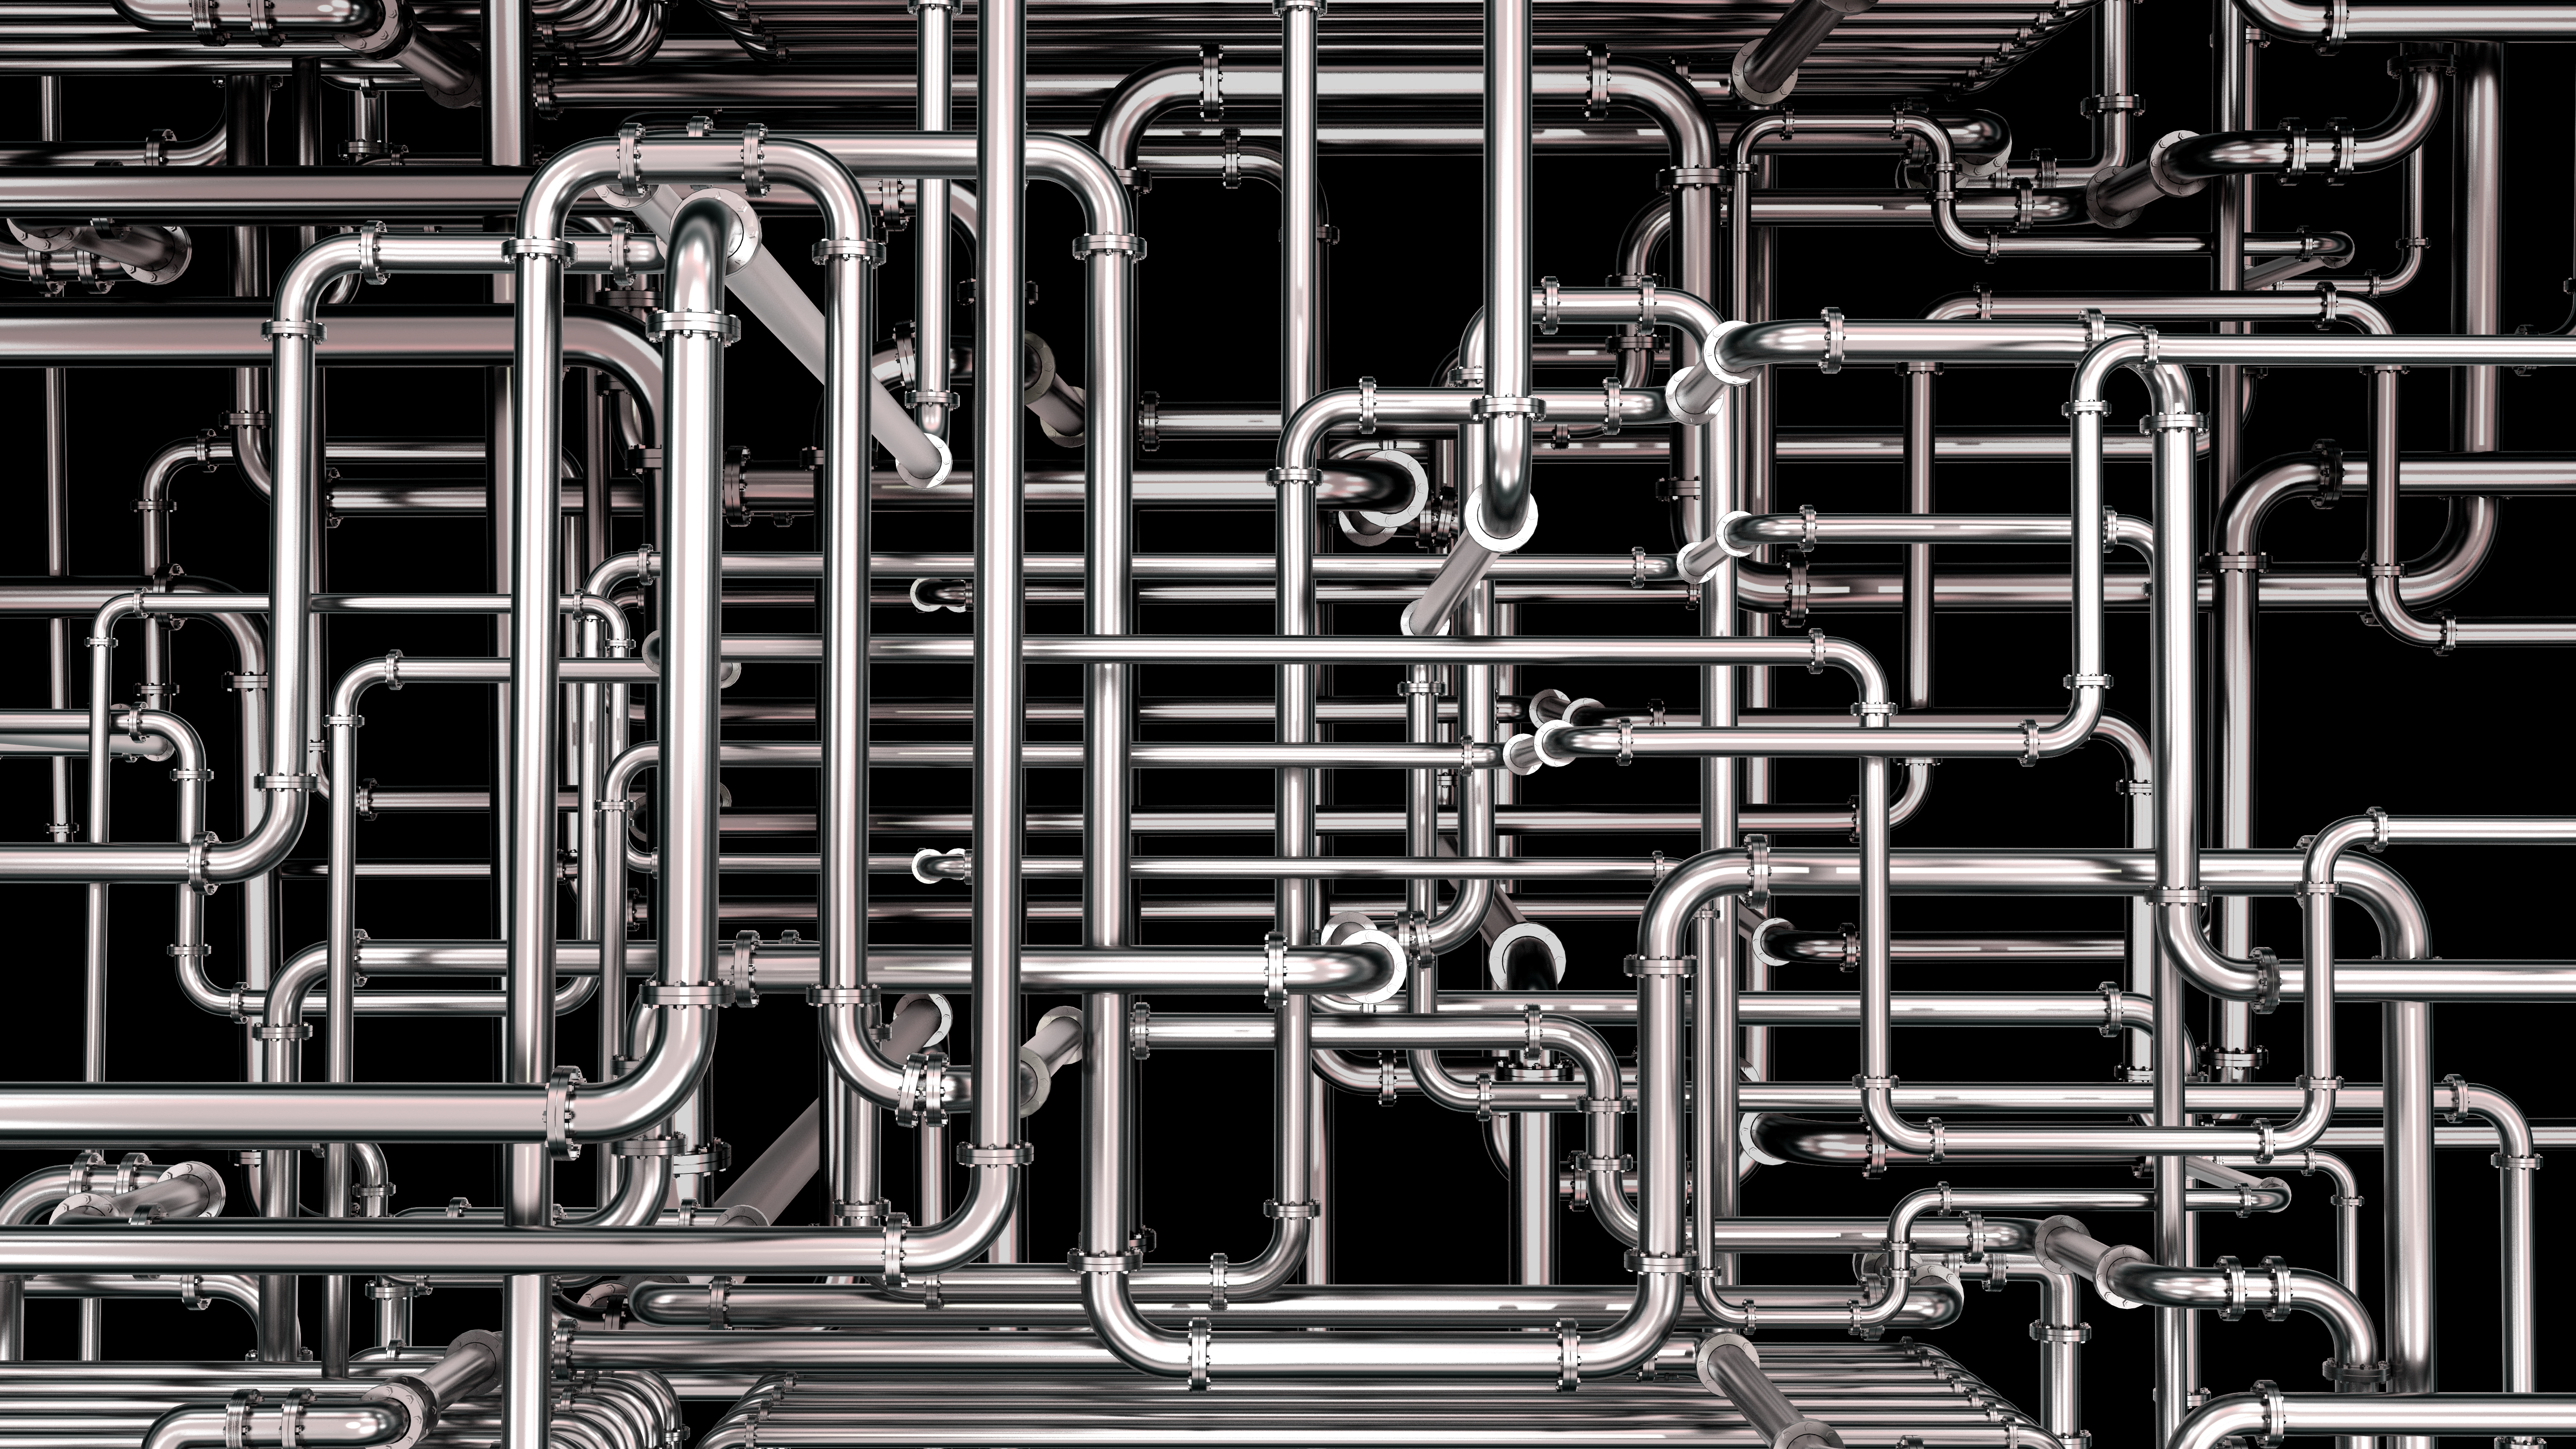
For this project, you will be creating a complex arrangement of pipes to show depth and value in an artwork. You will be using shading, value, and contour lines to help create the feeling of depth in your artwork.
DIRECTIONS:
Take a look at the worksheet above before you begin.
In your sketchbook, practice creating 4 pipe shapes with shading and contour lines added. You may use the same 4 pieces that are at the bottom of the worksheet.
After you have practiced 4 shapes and are comfortable making the pipe shapes, you may get a 12x18 piece of paper to begin your final artwork.
Your final artwork should be a complex network of pipes. There should be at least 3 layers of depth in your pipework and it should fill the page. You may add extra details, like knobs, regulator valves, leaks, and any other pipe related details you can think of. Your pipes need to be in color and have full value work to show depth.
Often mentioned alongside anime and manga, kawaii refers to a cultural style that incorporates bright, pastel colors and childlike imagery. In Japanese, the word kawaii has a meaning that sits more or less at the juncture of "cute," "tiny," or "lovable." The cute aesthetic—with its bold, nearly cartoon-like lines and rounded forms—informs a large segment of Japanese popular culture. As scholar Joshua Paul Dale writes, "[kawaii] communicates the unabashed joy found in the undemanding presence of innocent, harmless, adorable things."
The most famous example of kawaii culture is probably Hello Kitty, the ubiquitous white feline character whose image emblazons an ever-expanding range of products and accessories. The character was commissioned by a company called Sanrio, founded by Shintaro Tsuji, in 1974, with a plastic coin purse as the first product bearing the image. Now Hello Kitty is found on everything from backpacks to food trucks to duct tape to kitchen appliances to adult toys. Even though the character was originally intended for preteen girls, its limitless branding has pushed it into essentially every demographic and business sectors that have nothing to do with childhood.